Cutting And Shaping Homemade Soap
Once you have made a batch of homemade soap, you need to remove it from the form and cut it into soap bars. This is very easy and can make some professional looking bars of soap. Here is a demonstration:
First, if you have never made soap before, have a look at our homemade soap making articles.
After your soap has set overnight in the form, you can remove it from the form and cut it into bars. It is important to leave it overnight in order for it to harden up some. If your soap is still too soft to handle, you can either cook it a bit longer at 170 degrees to cook off some of the water, or you can place it in the freezer for a few minutes to harden up.
If you have a soft sided form, simply pull outward on the sides to pull the form away from the soap block. Then turn the form over and gently push on the bottom of the form until the soap block falls out.
Now you can get a cutting board and a large knife. Decide on the size of your soap bars and cut the block of soap up into bars.
 Cutting homemade soap into bars
Once you have your block of soap cut into bars, you can use it as is, or you can shape it to look nice.
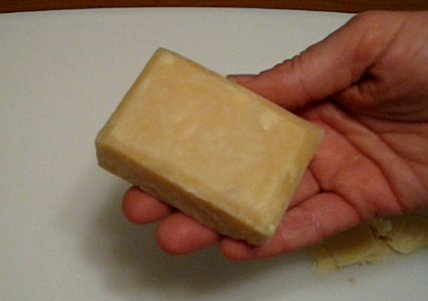
Many people trim off the edges on all four of the top sides to give the bar of soap a nice, rounded look. You can also cut off all edges around the whole bar of soap for a nice appearance.
Play around and experiment with your soap until you get a perfect bar.
 A finished bar of homemade soap
Keep all the trimmings for later. You can rebatch the soap trimmings to make more soap bars later when you have a large enough pile.
You can decorate your soap with herbs if you like. You can package it in nice paper wrappers with bows of twine or other materials and give your bars of homemade soap as gifts to friends.
You can even open up your own natural soap shop.
About the Author
| Troy Reid |


