How to make your own LED light bulb
The Do It Yourself LED Lamp
How to make your own LED light bulb for standard 120 volt sockets.
Lights in our home account for over 30% of our electric bill. Standard incandescent light bulbs are only about 10% efficient and lose the rest in heat. Using LED light bulbs will reduce your energy bill as well as waste heat. This has the further benefit that in the summer, your AC bill will be lower, thereby increasing your overall energy savings. One other important note. Most over the counter LED light bulbs have some kind of resistor to reduce the power going to your LEDs. Resistors or extra circuitry wastes energy as heat, reducing your savings. We show you how to set up your own LED lamp with no wasted energy.
This is a very simple design using 60 LEDs and 4 rectifier diodes set up as a bridge rectifier.
Parts list for homemade LED lamp:
1 - Buy pre-drilled bread board with solder contacts Click Here.
4 - Rectifier Diodes. 1n4001 or 1n4007 are ok.
60 - Ultrabright LEDs. 5,000 mcd or better: Here
1 - Halogen to medium base lamp socket adapter. Local Hardware Store or Home Depot.
Now, to get started. First, lets identify the LED terminals. The longer terminal is positive and the shorter one is negative.
Now, identify the rectifier diode. The band on the diode is the negative terminal of the diode.
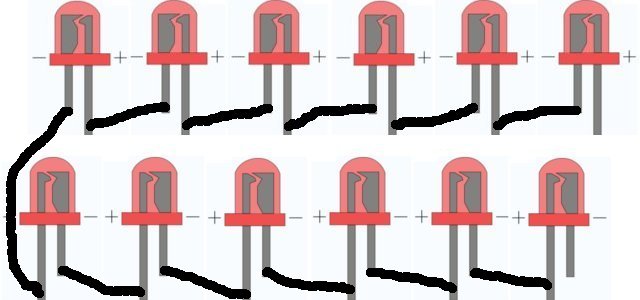
Connect all the LEDs together from + to _ to + to _ as shown in the picture below.


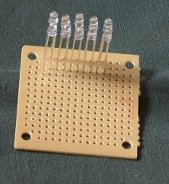
Continue soldering all 60 LEDs together. I had to use two breadboards because mine was a bit too small. If you need to, simply continue soldering plus to minus and use a wire to connect the minus from the first board to the plus of the second and keep going.
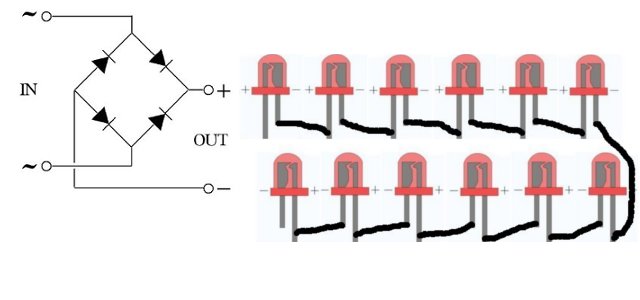
Now add the bridge rectifier. Connect them as shown in the diagram below. Connect the positive terminal to the positive wire of the first LED in the series (the long leg) and connect the negative terminal to the short leg of the last LED in the series.


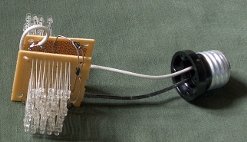
Now, using the picture above again as a guide, cut the leads of your socket adapter and solder them to the neutral (marked in ~ ) terminals of your rectifier bridge.
You may want to use plastic screws and nuts to hold your two circuit boards together (if you use two) and keep the solder points from shorting out. You can also get creative and hide your new LED bulb under a lamp shade.
Screw your new LED lamp into any normal lamp socket and enjoy energy savings from now on. The life of your new homemade LED lamp should be about 100,000 hours.
Update: Add a capacitor
I just added a 330 volt, 80uf photo flash capacitor from a discarded single use camera to the circuit. This increased the brightness of the LED lamp considerably, while still not heating up the LEDs at all. Simply connect the minus side of the cap to the minus output of the bridge rectifier and the positive to the plus side. The minus side of the cap is noted with a long stripe all the way down the side of the case.
You may use 40 LEDs instead of the suggested 60 to increase overall brightness of your LED light bulb. Doing so my reduce the total life span of the LEDs, but you will get much more light per bulb.
Buy The Booklet
Get your own copy of this book now. Available in printable PDF format for immediate download.
Only $1.99
Feel free to ask any questions or get help with your project on our
Note: This is for informational purpose only. Assemble this circuit at your own risk. We assume no responsibility whatsoever.
About the Author
| Troy Reid |


