
Assembly Of Q3 Charge Accelerator Pulse Motor Continues
I am working on the Quanta Magnetics Q3 charge accelerator which is a pulse motor battery charger. My hopes are to be able to keep my off grid homestead batteries in good shape with this device for many years to come.
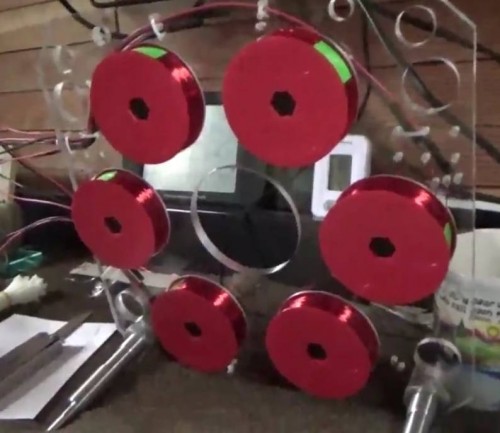 Coil stator windings on the Q3 charge accelerator pulse motor
Today I was working on the frame and timing of the motor. I put the bearing into the bearing plate by putting the plate on the floor and pressing down with my knees. Then I turned the plate around and did the same again and again until the bearing was firmly seated into its position. This was a gentle way to press the bearing in I think and it worked just fine.
I put together the timing disk which has six magnets on it. I had to find the North pole of each magnet. All six of the Neo magnets will have the North pole facing forward towards the motor.
I fastend the timing adjusting disk onto the bearing plate as well with the provided screws. To adjust the timing you can move this disk. In this way you can advance or retard the timing of the pulses which drive the motor.
The timing disk has a hub which attaches to the motor shaft. I put the shaft through the bearing and then attached the timing wheel.
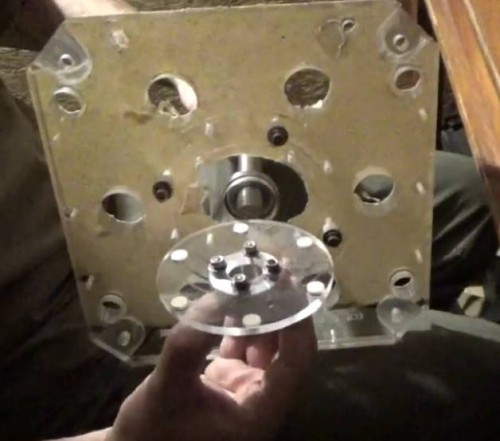 Putting the timing disk onto the pulse motor generator
I put together the electronics board which consists of some bridge rectifier diodes and a solid state relay. This will mount on the side of the pulse motor generator and allow me to configure the input and output of the machine at will.
I did not have my tool kit with me at this time so I will have to tighten things up in the morning.
I also put some of the frame bolts onto the bearing plate. These hold the entire machine together. Then I slid on one of the coil stator halves. It fell right into place with ease. The nylon bolts stick through the holes that are machined into the frame, giving you a nice close fit.
You can watch the video of today's work here: Q3 Charge Accelerator Timing Disk & Bearing Plate Assembly
While you are over there please subscribe to my YouTube channel and follow our daily videos as we strive to become self sufficient and off the grid on a budget.
About the Author
| Troy Reid |


