
No-Till Vine Patch
You don’t need to till up the whole back 40 to have all the watermelon, squash, sweet potatoes and pumpkin your family can eat. Instead, cut out circles of sod, mulch the area and then watch your garden grow.
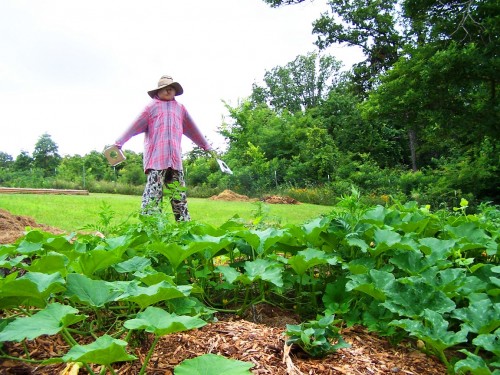
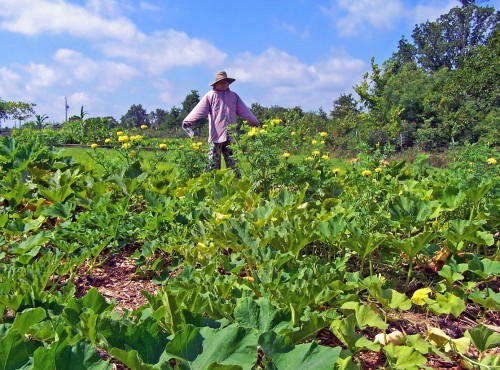
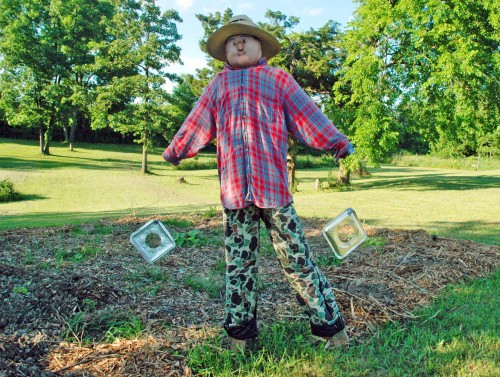
I tried this method for the first time in 2009 and was amazed at the amount of produce (squash, cucumbers and melons) an area about 15’ by 20’ yielded. The next year, I expanded to add peppers, nasturtium, sweet potatoes and tomatoes, letting them sprawl instead of staking them. I had no trouble with bugs and was able to keep the squirrels, rabbits and birds at bay with generous sprinklings of pepper when the plants were tiny and a moveable scarecrow all season.
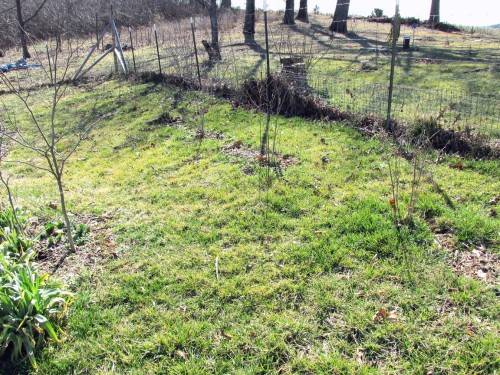
To begin your garden, choose a sunny spot, possibly in a troublesome area of the lawn. Rocks and weeds will not matter. For my new vine patch, I selected a strip of grass that is difficult to mow between the rabbit-proof fence and a line of small hazelnut trees.
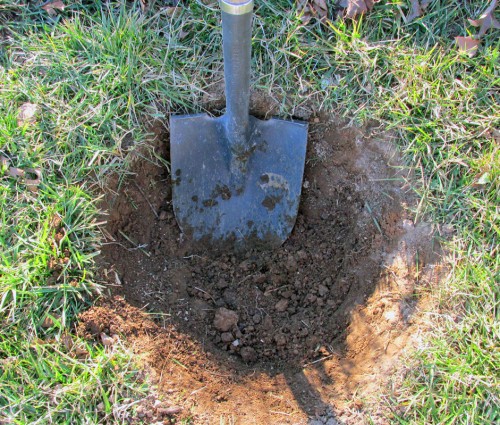
Dig out circles of sod about 16” in diameter and 8’ to 12’ apart. This is easiest with a sharp, pointy and somewhat flat shovel. Perforate the circle to a depth of about 4” all the way around with the shovel, and then use the shovel and a block (flat rock or chunk of lumber) to pry up the circle.
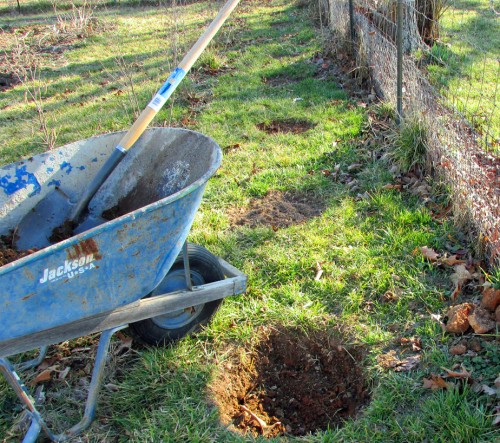
Depending on your soil, the sod circle usually comes up in one clump. Shake off and keep as much dirt as possible from the sod, which can be used to fill low or bare spots in the lawn. Do not put the sod in your mulch pile. It will grow, even if you turn it upside down and let it turn brown.
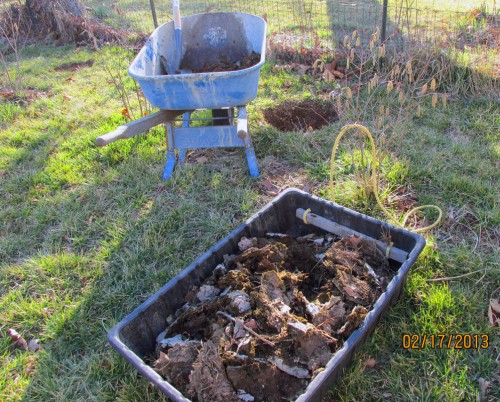
Next, dig down at least 12” in each circle to take out the dirt, then mixing the excavated soil with animal manure and compost. (Vines do best in rich soil.) Shovel the thoroughly mixed soil back into the holes, leaving the soil slightly hilled.
When you have all your planting circles prepared, it is helpful, but not necessary, to put down a layer of newspaper (not colored, glossy pages) over the area. Five or so pages constitute a layer. I didn’t use newspaper with my first vine patch, so some weeds worked their way up through the mulch. The weeds were not difficult to pull, however, as they were weak and spindly because of the heavy layer of mulch they navigated on their way to sunlight.
Next, you can begin forking mulch onto the area, leaving the planting circles uncovered. Use whatever is available, preferably free, as you will want this mulch layer thick. I was fortunate when I created my first garden to live near enough to the county compost pile to get free mulch there.
For my new garden here, I’m planning a trip to a local sawmill for wood bark and sawdust. Leaves and grass clippings also work especially well as they add nitrogen and really suppress the weeds. If you use anything woody (sawdust or bark), make sure you leave it on the top of the soil. Wood needs nitrogen to decompose and will rob it from your plants if you till it in.
In my experience, you cannot pile on too much mulch. Again, do the best you can with what you have to work with. If desired, you can take it off in the fall to use elsewhere.
Now, depending on the soil temperature, you are ready to plant. Remember, all those viney plants love warmth. If it is still too cold outside, you can jumpstart the season by starting seeds indoors no sooner than about 4 weeks before planting outdoors. If you have 8 or more weeks yet of cool weather, you can plant snow peas now to make use of your pretty, new garden.
Cucumbers, melons, squash and such do not like to have their roots disturbed during transplanting. This can be avoided by starting the seeds in individual paper or peat pots. At transplanting time, carefully rip out the pot bottoms to expose the roots, and then plant the entire pot. Also tear off any part of the pot exposed above the soil level as it acts as a wick, drying out the soil. To use an old milk or juice carton, punch holes all along the bottom edge of the container, making it easy to tear off at planting time.
A free and easy paper pot also can be made by rolling newspaper around a jar or can about the size of a drinking glass. Fold the bottom under and secure the side flap with a simple flour and water paste or a staple. Fill the paper pot with soil as usual; plant 1-2 seeds, label and water.

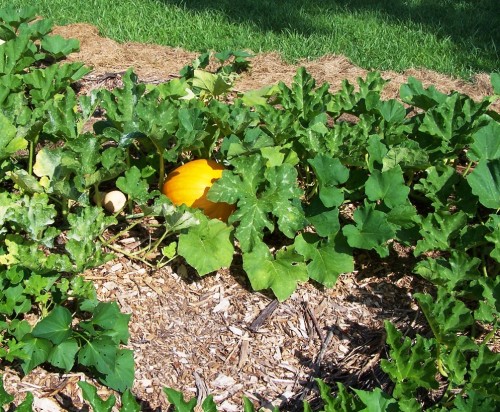
Plant 3-5 vines per hill in your new garden area. I like to mix mine up to fool the bugs. Also, add a marigold, dill and yarrow here and there to attract good bugs and repel the bad ones. Planting in this way, I have had less trouble with squash bugs and have had to do almost no weeding. Since your variety of plants bloom at different times, you will have a lovely garden throughout the season. Next year, refresh your mulch and do it all over again.
If you have questions, please contact me at info@wellwaterboy.com. Our goal at Well WaterBoy Products is to help people live more self-sufficiently without relying on electricity. We are working steadily toward living off-grid and incorporating human-powered machines wherever possible. Visit us at www.wellwaterboy.com.
About the Author
| Mrs. WaterBoy |


