How To Paint A Car Yourself With Spray Paint Cans
How To Spray Paint Your Car
Paint Your Own Vehicle with Spray Paint Cans
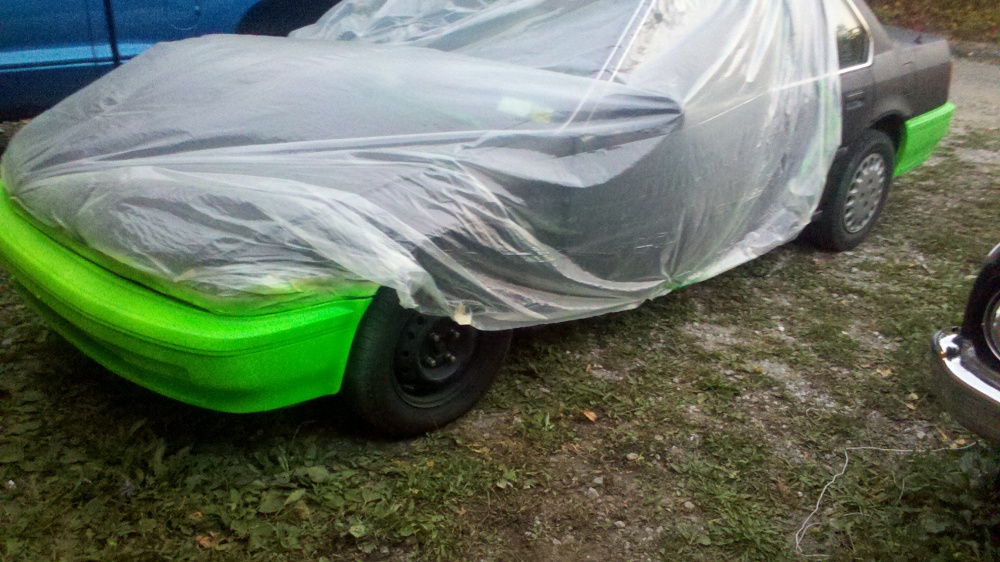
You can easily paint your own vehicle with spray paint cans. Even the cheap stuff. The trick is in the method. A car can be painted fully from top to bottom and even detailed for about $25. The example here takes an old 1991 Honda Accord that has been beat up pretty badly in its life. It is covered with rust spots and a lot of paint is worn or scratched off.
This project used flat black paint and fluorescent details. You may use whatever you like for your own vehicle.
In the end, this $25 job is a head turner. By using flat black spray paint, the smaller dents and dings do not show up, making the car look even better. The fluorescent detailing draws your eyes away from any flaws and you dont notice anything but the bumpers.
Read on for details....
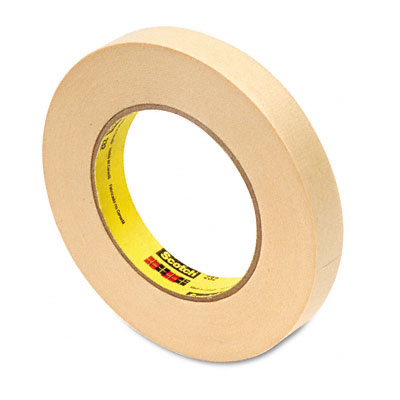
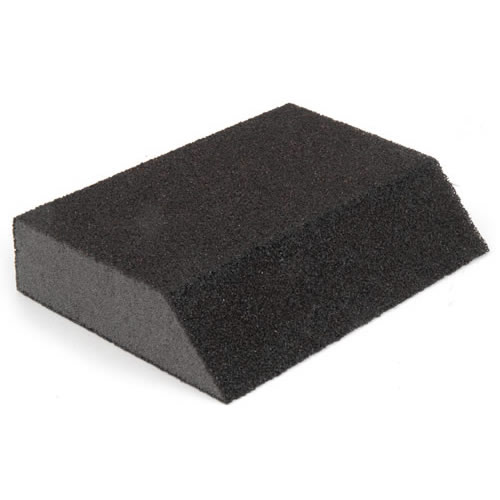

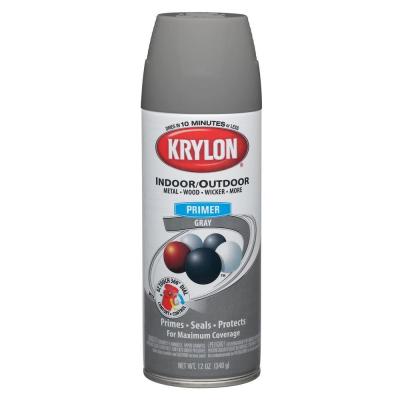
Here is what you will need. First, a day with little or no wind for the painting. You can prep the car one day and then paint it the next as long as you do not expect any large amounts of dew or a rain storm overnight. The day of painting needs to have very little wind or you can have a mess. You can still paint, but it makes the job a lot harder.
If you do get interrupted between preparing your car for paint and the actual painting, you can cover the car with a large plastic drop cloth. Tape it securely all over to make sure it does not get blown off. Then you can cover it all up with a tarp if you want. The drop cloth is soft and will not scratch or wear on your car metal or paint.
List of Supplies:
- Lots of newspapers for protection from overspray
- A couple rolls of masking tape
- Drop cloth - for household painting (not shown)
- A wet sanding sponge
- Rust Kutter - spray rust killer and primer
- Flat gray spray primer - about 2 to 3 cans
- 5 - 10 cans of spray paint. Your choice of color
Below are the colors used in this project. The flat gray, sandable primer. The flat black spray paint. The fluorescent green paint for detailing.
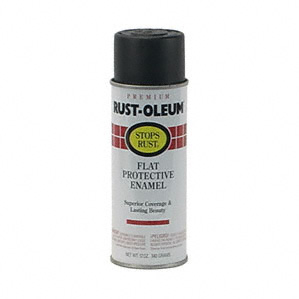
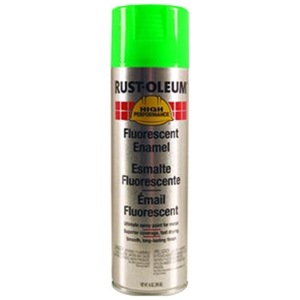
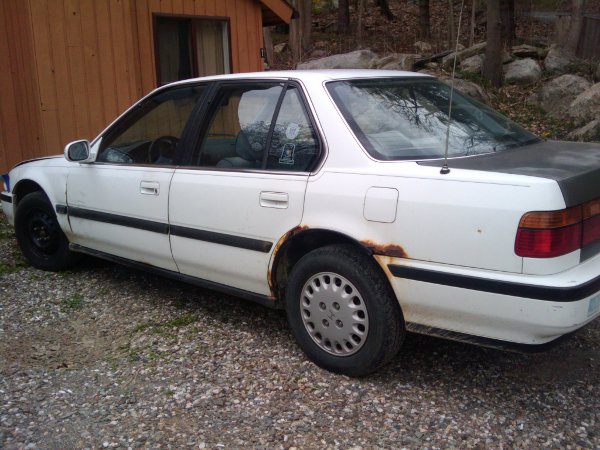
Rusty old car before painting
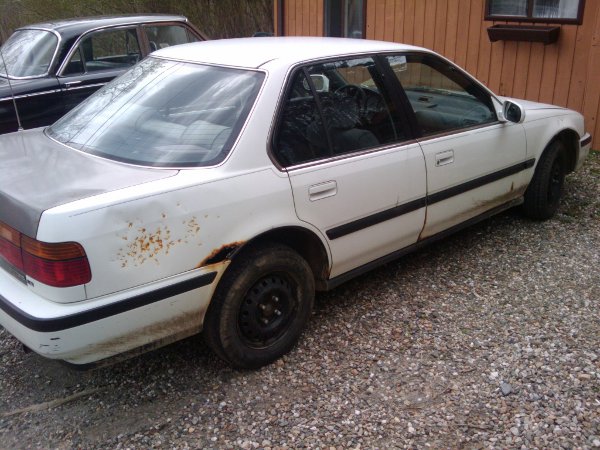
Beat up, rusty car before painting
Above is the car before painting. Someone had beaten it up pretty badly with a bike chain all over. There were little dings and scratches in the original paint. There were also a lot of rust spots and the trunk was a different color from the rest of the car. All in all, it was a mess.
First, wash your car very well with soap and water and then rinse it off fully. While it is still wet, take your wet sanding sponge and gently rough up the surface of the paint all over the car. Get into cracks and crevices. Sand the whole complete car. Anything that you will paint needs to be roughed up for the new paint to stick. Keep the area you are working on moist as you sand the surface of the old paint.
Now wash the car again. Rinse it very well and towel it dry with a lint free cloth. Leave it in the sun for a few hours to make sure all the water dries off. If there is any water during the painting process, it will mess up the paint.
Any badly rusted areas should be course sanded with a grinder or course grit sand paper down to bare metal. Rust is cancer and will continue to eat away at your vehicle if left unchecked.
Take a damp - not wet - cloth and wipe down any rusty areas you just sanded to get off all dirt and grit. A wet towel will cause more rust to form. Then spray all the bare metal and rusty areas with rust killer. You can get Rust Kutter from Tractor Supply for a decent price. It is meant to be sprayed right on rust directly and converts it into a paintable surface.
Tape off your whole car. Cover windows, chrome, mirrors, trim and tires. Cover anything you do not want painted.
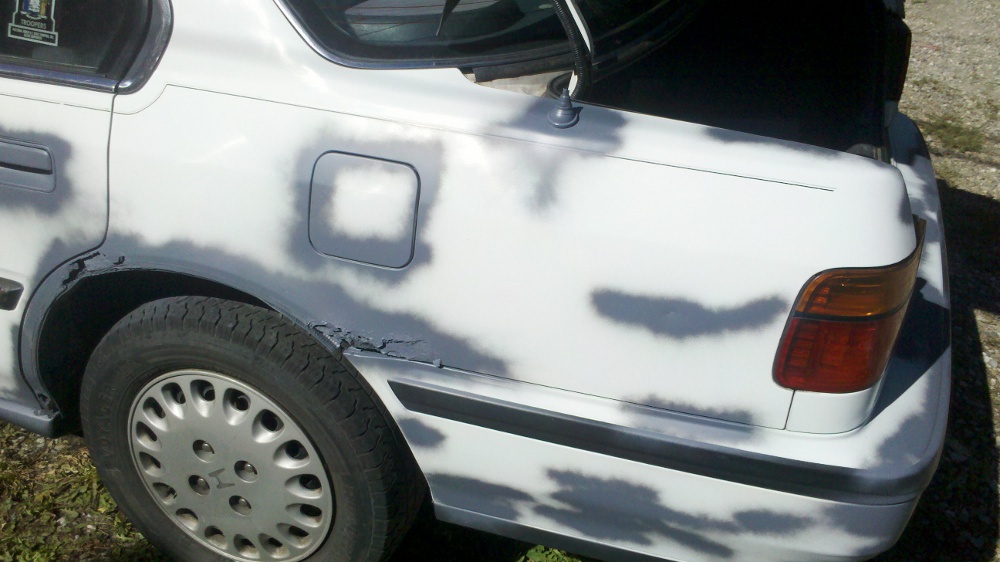
Painting rust spots with rust inhibitor
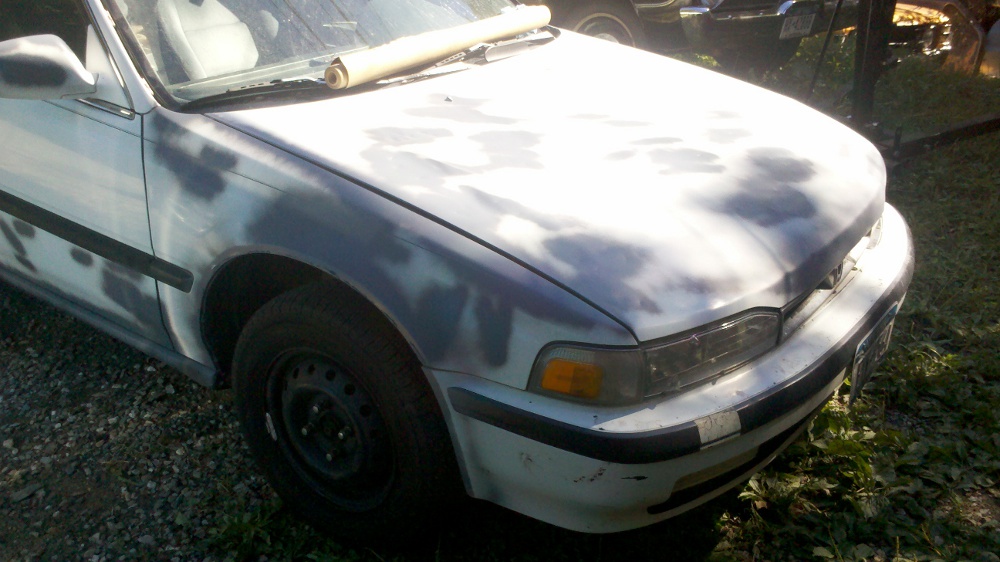
Preparing car for painting
Take your primer and hit any spot where there is still bare metal or rust. Watch especially around edges of metal, door edges, door handles and around trim. These areas get chipped and dinged a lot. In the above photo you can see that the primer was applied all around the edges of metal and rusty areas. This actually turned out to be a three day project, so the tape and newspaper is not shown in the photos above.
Day one was washing the car and painting with rust inhibitor. Then spraying on primer all over the bad areas. Day two was the actual painting of the car in black. Day three was the painting of the windshield wipers and bumpers with green.
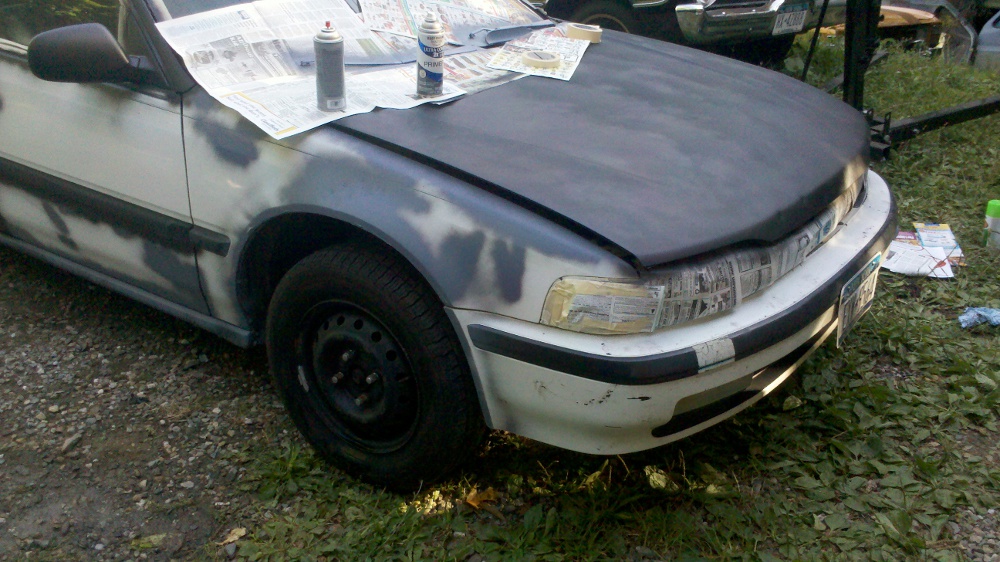
Painting car with spray paint cans
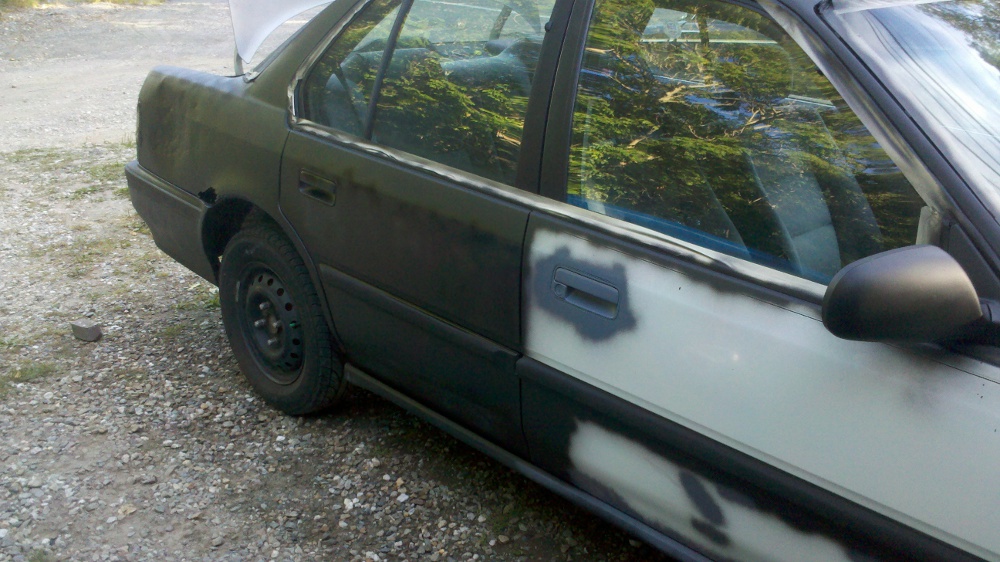
Painting car with spray paint
Because this was a budget project and done on a daily driver, the lights, trim and glass were not removed for painting. Everything was covered with tape, newspaper and plastic drop cloth before each step in the project was started.
The key to spray painting a large surface area, such as a car, is to paint small areas at a time. Paint the hood first. Then a fender. Then a door. Paint piece by piece until the whole car is painted. In this way you have less chance of the paint showing spray patterns. If you paint a small area then the paint is still damp as you are painting and the tiny spray drops of paint all blend in together.

Bad spray paint pattern

Good spray paint pattern
Another major key to spray painting a car is to use short, side to side strokes while pushing the paint can plunger during the sideways move. Then release on the side of the stroke. As you near the edge of the area you are painting - release the plunger. This prevents paint build up and running on the edges. Press the plunger as you begin the sideways stroke. As you near the edge again, release the plunger. Do this back and forth from side to side as you paint. This gives you a very nice, even coat of paint with no drips or runs.
Spray in light, even coats. Do two or three coats in all. Do not try to completely paint the whole surface on the first coat of paint. See the first image above. This is what one coat of paint would look like. Cover the whole area, but do not try to lay on a thick coat. Some of the gray primer will show through the paint on the first coat. This is normal and good.
Read the can label for instructions on how long to wait in between coats of paint. It will also depend on the humidity and temperature when you work. But about 10 to 15 minutes is a good average. Wait for the first coat of paint to dry then start another coat. Look at the secind image above for an example. This layer may also show some primer though. The idea is to keep on laying on fine coats of paint until you get the desired results.
Do not try to rush the painting or you will have a mess. Take your time and spray on multiple, thin, even coats of paint. It is a good idea to use some dollar store paint and practice first on a flat piece of sheet metal until you are comfortable with painting the car itself. But if you do mess up, a simple sanding with your wet sander will take out any drips or runs. Then another light coat of paint and it will never be noticed.
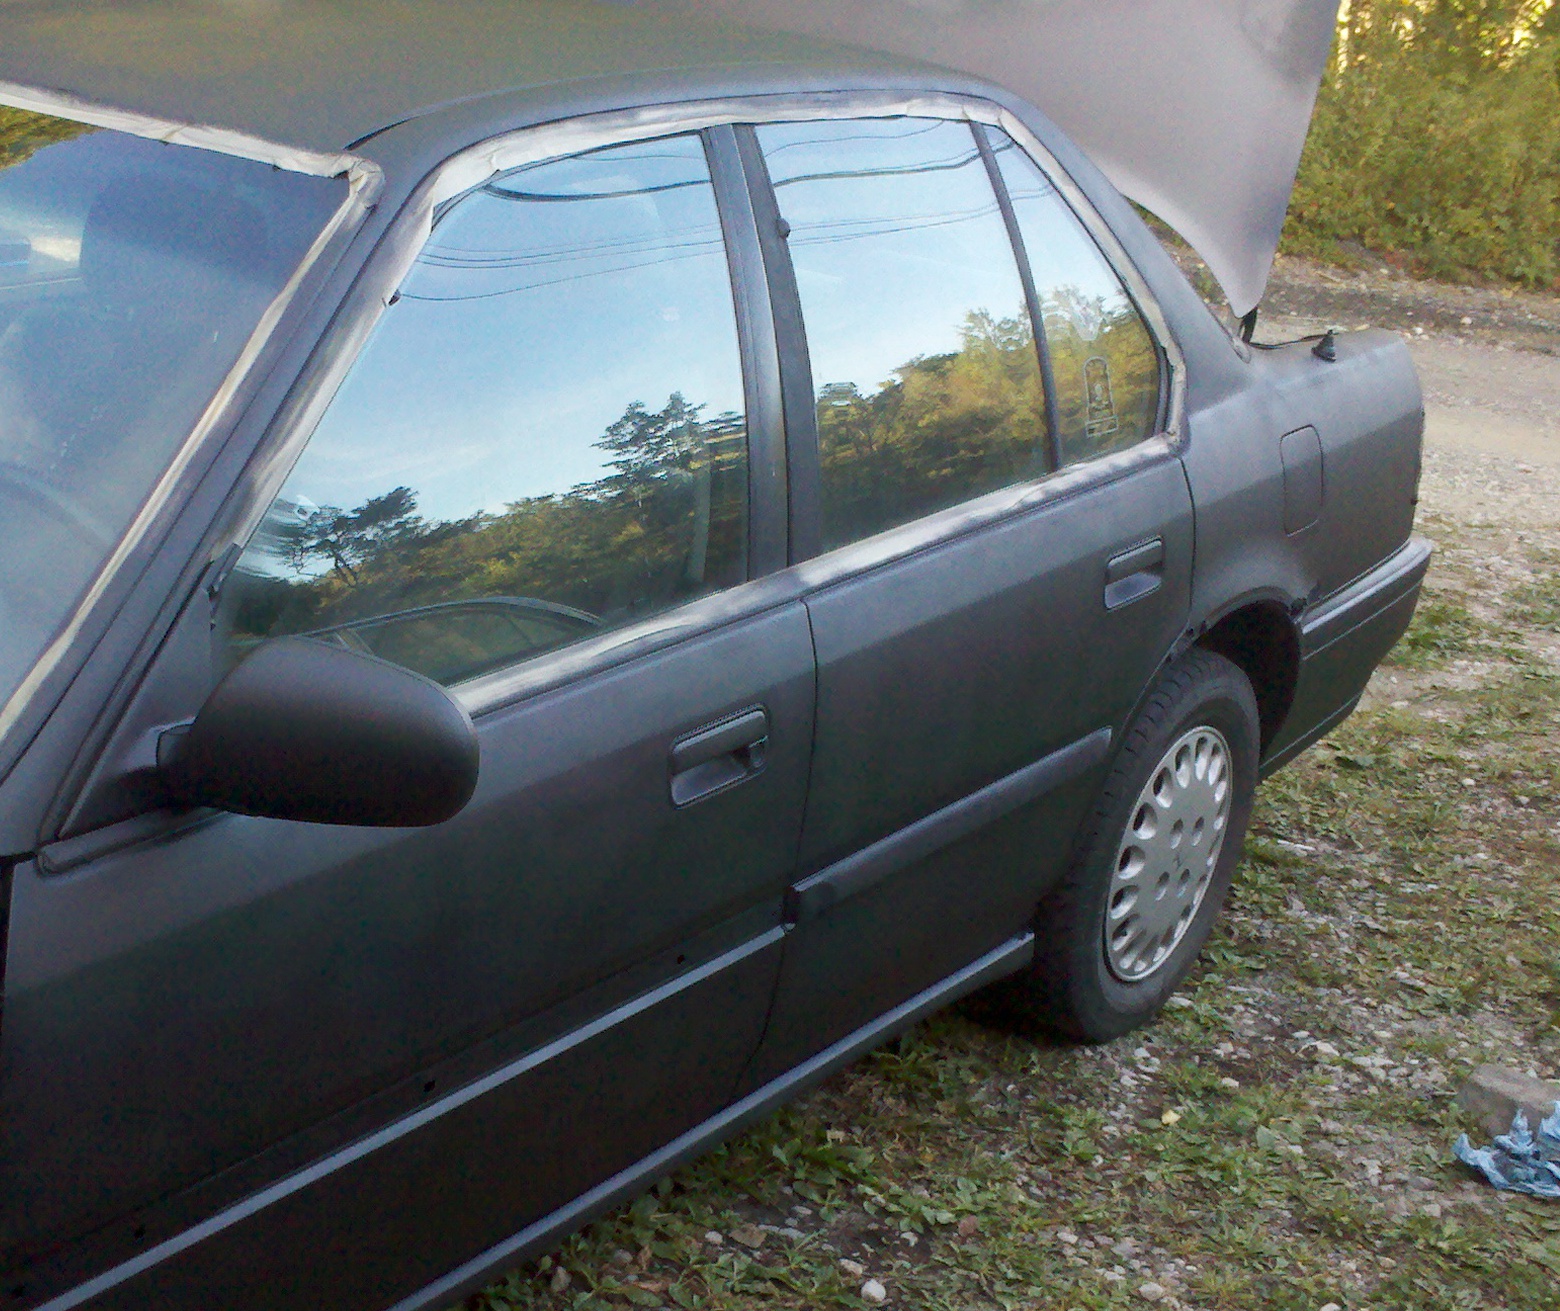
Nearly done painting car with spray paint
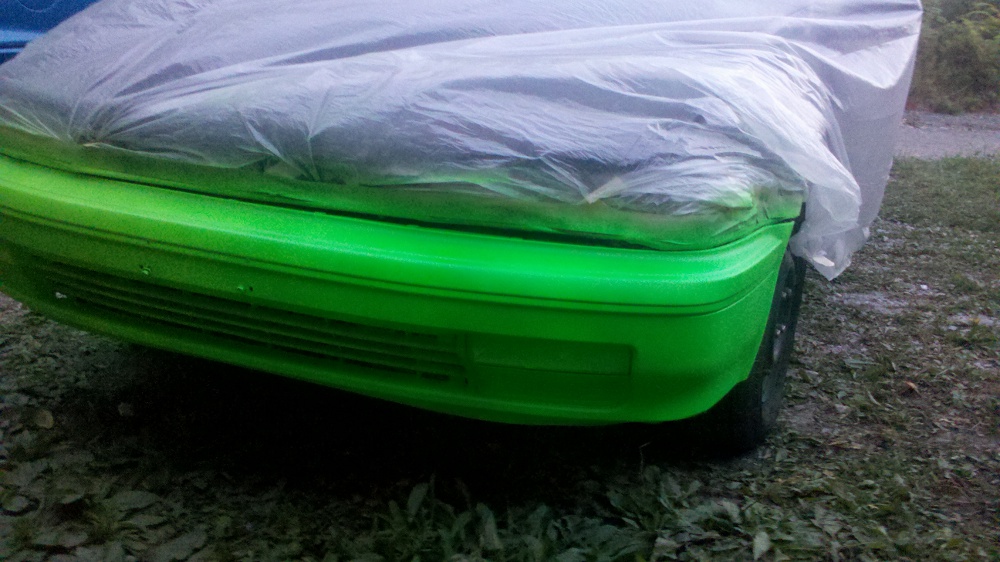
Detailing car with spray paint cans
In the first photo above, you can see that the whole car has been covered in flat black spray paint. At this point, the main painting of the car was finished. Some body work needs to be done in the future, then another, better coat of paint will be put on, followed by clear coat to protect the paint from the elements.
The drop cloth was very helpful in covering the whole car while painting the bumpers. The lights and trim were taped off and the car covered with plastic drop cloth. The plastic was taped all over the car to keep it from blowing off in a breeze.

Painting bumpers and trim with spray paint
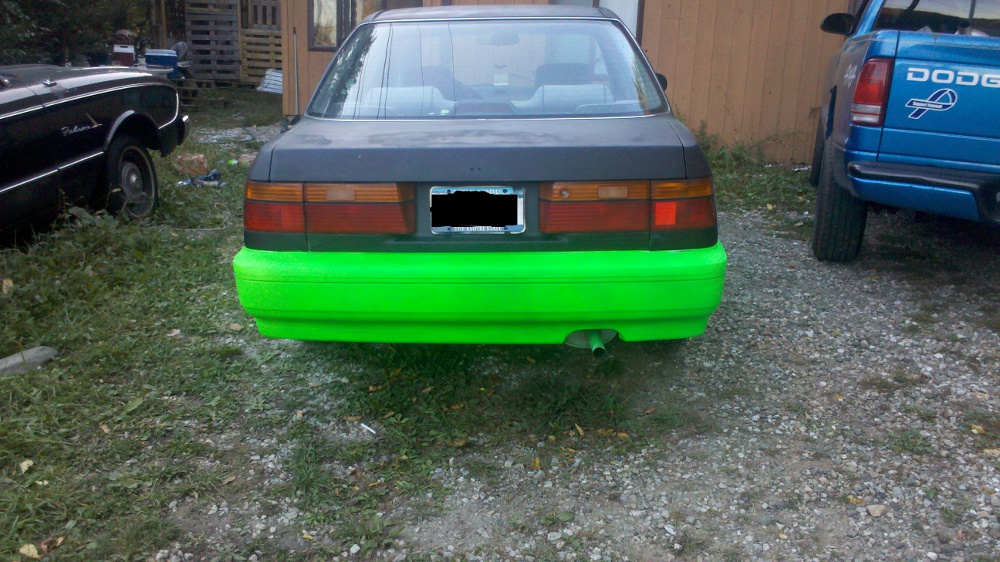
View of car after spray painting is finished
Although this was a cheap, budget DIY paint job, it is a head turner on the highway. Even older people comment on the paint job. The dents, dings and rust are now nearly invisible even without body work being done. That is a future project. But, for now, the car looks pretty good at a short distance away. Again, that bright, fluorescent paint really draws the attention away from any flaws in the body of the car.
It is highly recommended to spray on a clear coat to protect your paint when finished. The paint, if not protected, will fade from the sun and the elements. With a good clear coat you will have a long lasting budget paint job on your vehicle.
Feel free to ask any questions or get help with your project on our
About the Author
| Troy Reid |


