
Built Final Tiny House Loft Office Wall & Book Shelves
I finally got the tiny house upstairs loft office wall closed in. I also put up some shelves on the new wall to store our recycled pallet wood products out of the way. I have wanted to close in the tiny house loft office for a while now.
I looked around in our scrap pallet wood pile to find some wood to frame in the final office wall in our off grid tiny house on wheels. I was looking for longer 2x2 lumber when I found the perfect frame already built. This was a 4 x 6 foot frame from a single use crate. This is perfect because the wall I need to build is 6 feet long and is 4 feet high at its highest point.
 Pallet wood crate framing I will use for my tiny house loft wall
All I had to do was to cut it down to size to fit the angle of the roof. I put it over on the work bench outside. It has snowed so I had to actually shovel off the work bench before I could work. I measured the angle of the roof in the tiny house loft and then marked the frame. Three simple cuts and I had the frame for my tiny house office wall done.
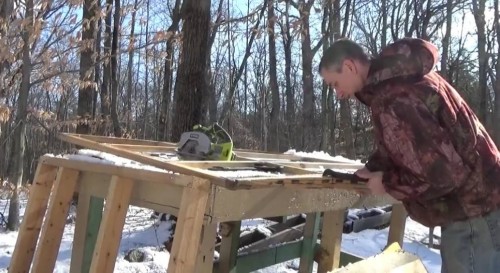 Building the framing for my tiny house loft office wall
Getting it inside and into place was a challenge though. I wish I had recorded that ordeal. It took both Melanie and myself to get it upstairs over the hand rail and into the office. Since it was a full 6 feet long, it was a job to maneuver it through the tinny house. But eventually we got it into position and I screwed it into place.
This wall will not only close off my office to give me some privacy when working but it will provide a place to hang some shelves on both sides. And it will tie in the loft floor with the roof above, further strengthening the tiny house on wheels.
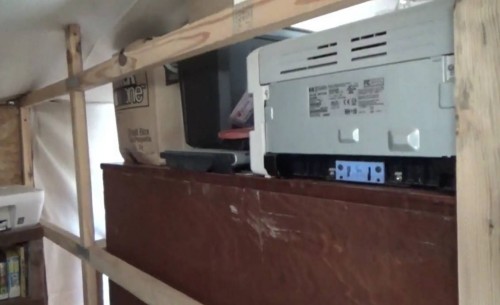 Framing in my tiny house loft office wall with recycled pallet wood
I have some very thin plywood left over from this summer that I cut to fit on the wall. This is perfect because it is light weight and looks good.
Then I took a shelf that Melanie and I had salvaged this summer. She wanted to use it but it was impractical for her use in the end. But we never threw it away. I am happy that we did not now.
I think this was some sort of head board shelving for a bed. But there was a decorative wood panel blocking off the area where a shelf could be. This was wasted space in a tiny house and I always wanted to open this up. So I cut it out and then put a piece of plywood over the opening, making a perfect shelf.
Now I have a closed in tiny house office space and a set of three shelves with storage underneath for books.
I then brought in our recycled pallet wood products and put them into the shelves to keep them out of the way. This also gives me a good overview of what we have on hand. Plus it frees up the living room of the tiny house becuase it was starting to become cluttered with all of our wood working products.
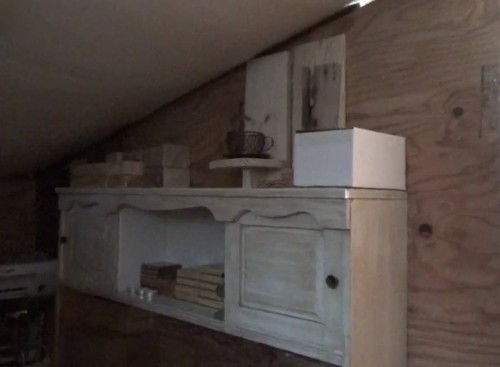 My new tiny house loft wall finished and shelving in place
I am very pleased with the results of todays work. I may set up a doorway and a door that can be closed one day so that my office can be safe from the cats. They want to walk all over everything and they especially love shelves.
You can watch the video of todays work here: Closing Tiny House Loft Office Walls & Making Shelves
While you are over there pleae subscribe to my YouTube channel and follow our daily videos as we strive to become self sufficient and off the grid on a budget.
Or you can join our Patreon board and follow the videos without trolls. You can find our Patreon account here: The Do It Yourself World On Patreon
About the Author
| Troy Reid |


