How To Repair Water Damage Inside Camper Or Rv
Repair Water Damaged RVs
How To Repair RV and Trailer Water Damage
This is part three of the camper and RV repair series.
Often, by the time you find water damage in your camper or RV, there is already a lot of damage inside the walls. First, fix the leak READ ARTICLE. Then you will need to patch up the whole outside of the trailer READ ARTICLE. Now, you can proceed.
Repairing your RV is not as expensive as you may fear. The boards for the framing only cost about a dollar or so. The 1x3 inch by 8 foot boards are about a dollar and the 2x2 inch by 8 foot boards are about a dollar and a half. It wont break the bank. The paneling can be found for about $13. All of these items can normally be found in your local lumber yard. You can get generic paneling and paint it or put up wall paper to match the rest of your camper.
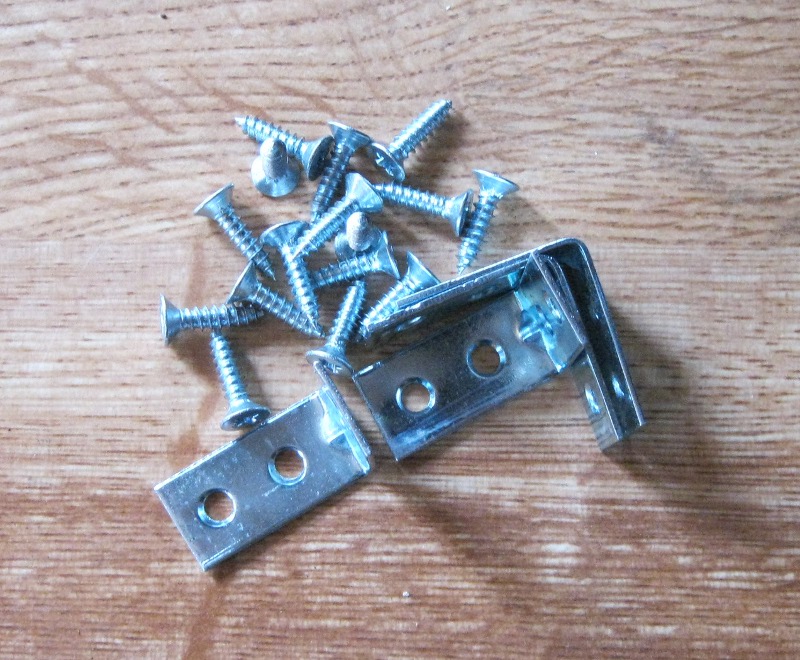
You will also need some screws for the job. Get some that are about 3.5 inches long to fasten the 2x2 framing together and some 1.5 inches long to fasten the 1x3 framing together. You will need some metal angle brackets too (photo below).
All the work shown here is done from the inside of the trailer. This makes it possible to work outside without the need for a huge work shop or garage. Leaving the siding and roof intact allows you to take your time and get the job done right.
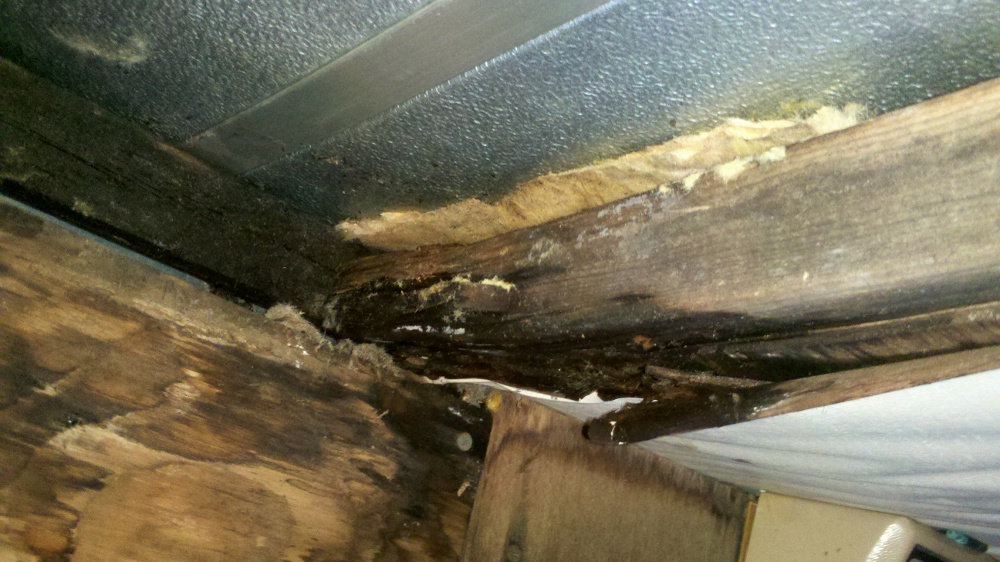
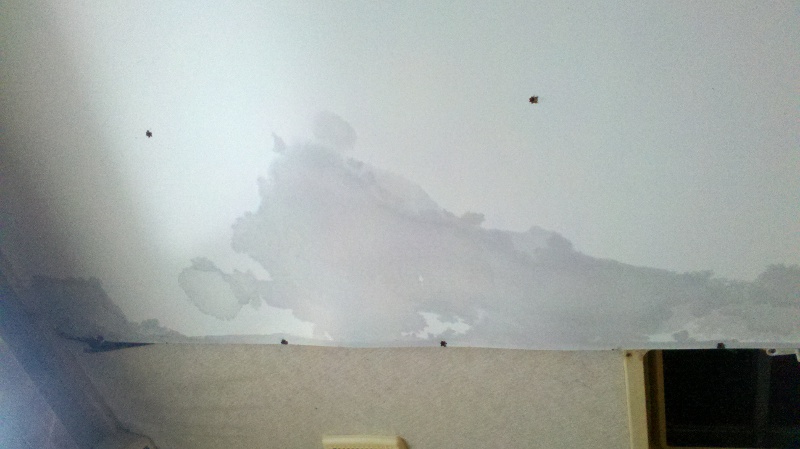
In the photos below, you can see some water damage inside an old camper. The ceiling is seen in the first photo. It is soaking wet and water is coming through. The second photo shows what the wood looked like underneath. It was rotted very badly and much of it had to be replaced. No problem. A trip to the local lumbar yard with a few dollars and it will be ok.

Get some drop cloth while you are at it. The next part is going to be very messy. Cover everything in your trailer to keep it clean.
Now, rip out the ceiling or wall where the damage is. Do not be afraid to dig right in and tear it up. Remember, it will not cost too much. And it is like a cancer. All the damage must be removed. Rip out everything you can with a pry bar or screwdriver and tear out anything that is soft or rotted.
If you have framework that is rotten in places, cut out the bad part carefully with a jig saw. Actually, a leatherman with a saw comes in handy for tight spots where you do not want to punch through the siding or roof. Be careful while you work so you do not punch through to the outside.
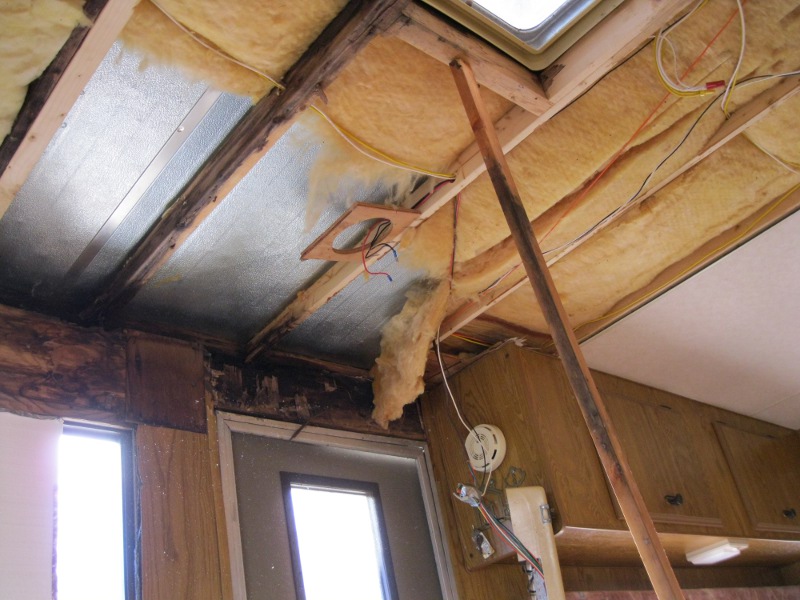
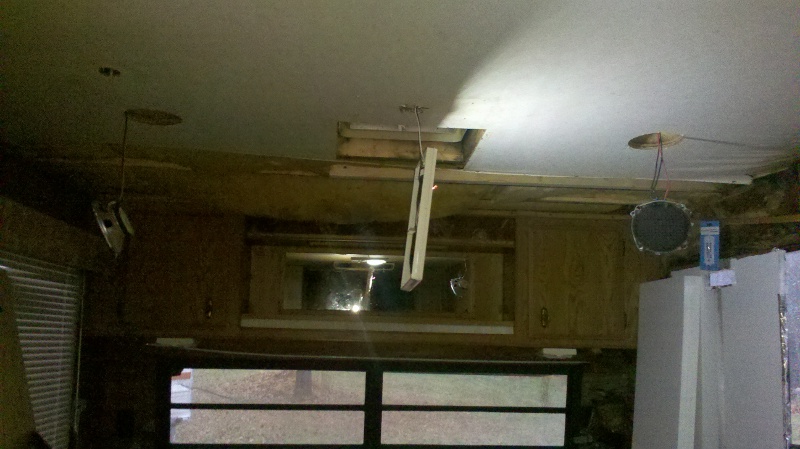
See the images below. You will probably need to remove fixtures from the walls or ceiling. The first image below shows some speakers and a light fixture hanging from the ceiling. You may also run into some wiring that will need to be disconnected in order to remove the fixtures. Carefully label every fixture and each wire as you work so you can remember it later.
In the image on the bottom right, you can see that the ceiling panel and fixtures have been removed. The ceiling frame was rotting so badly that the ceiling was sagging and a pool of water had collected on top. This caused even more water to leak through otherwise water tight seams because they were fully submerged. A piece of wood had to be used to prop up the ceiling back into its correct position while re-framing it.
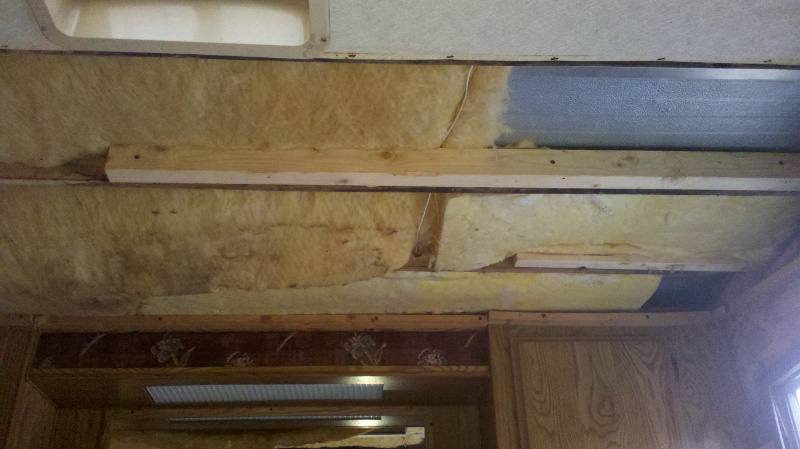
Also note that some of the insulation has been removed. The wet stuff gets tossed. It takes forever to dry and may carry mold spores. Discard it.
Now, if you have already found the leak outside and patched it, leave everything as it is and let it dry out for a few weeks or months. Longer is better. If you have not already found the leak, then wait for the next rain storm and go out to your trailer and watch for the leak. You should see where it has been coming in.
If you find the leak, patch it up. Now, let your camper sit for a few months, with the siding and framework exposed to make sure that there are no more leaks. And you also need to let the frame and insulation dry out. There may be a lot of water inside the walls, deep down. Three months of warm weather is recommended. Leave the windows open during dry weather to allow moisture to escape.
There are two possible scenarios here. One is a ceiling leak and the other is a wall leak. Both will be covered below. The image below shows a ceiling repair job. Simply cut out the old, damaged wood, leaving the good part intact. You can keep any parts of the ribbing that are ok. In the photo you can see that only a couple feet of original wood framing were cut away. The rest was kept. Cut a piece of new wood to fit the open hole. Make it about a foot or two longer than you need. It should overlap the original, good part of the frame enough for you to attach your new piece.
You can see the new piece of framing in the photo below, attached to the old piece.
For side wall repair, please refer to the next two photos. The rear wall of this trailer had no framework left at all. The complete rear corner was gone. All the wood was turned to a powder. It all scraped away with the hands. There was also extensive mouse damage and old nests in the insulation, so it all had to come out. Wear protective breathing gear and gloves when working with insulation and expecially with mouse feces.
Get an idea where the original frame went. Take photos before and while you work to make sure you get it all back together ok. Campers are forgiving, so it does not need to be perfect though. In the image below you can see a brand new piece of wood in the corner. And you can see a piece of wood (recycled treated lumber) attached to some of the old frame going from right to left in the center of the photo.
To help in the work, you may use some flat tacks. Not sure what they are called, but they are metal strips with built in nails. You can hammer them straight into the wood and it makes a nice, easy fix. And it stays flat when you are done so you can put paneling in later with no problem.
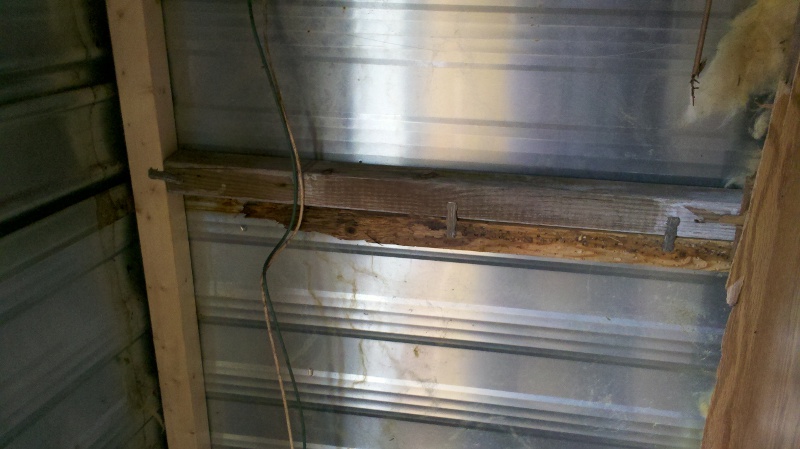
The photo below shows a closeup view of the frame piece just mentioned. The angle brackets were attached next to make a solid, sure connection to the other pieces of wood. When you put the paneling in place, it will also help hold things together.
For corner framing such as seen in the photo, there are also a lot of screws coming into the frame from the outside. You will need to remove the plastic trim outside on the corner in order to reveal the old screws. Some may come out easily. Some may not. A Dremel tool makes removing the tough ones a breeze. Cut them off close to the metal, from the inside. Then you should be able to pop them out.
Put new screws in place and be sure to put the plastic trim back on. This keeps water off the screws and out of your new wood. If you damage the plastic, you can find it at a local RV shop.
You are now well on your way to getting your camper ready for the next season. Bookmark this page and watch for the next article in the camper and RV repair series - How to insulate your camper with better insulation than from the factory.
You can watch today's video here:  How to repair water damage inside a camper or RV, wood and frame repair.
While you are over there please subscribe to my YouTube channel and follow our daily videos as we strive to become self sufficient and off the grid on a budget.
Feel free to ask any questions or get help with your project on our
About the Author
| Troy Reid |

