How to desolder electronics with a desoldering pump
How To Desolder Electronics
Desolder Electronics With A Desoldering Pump
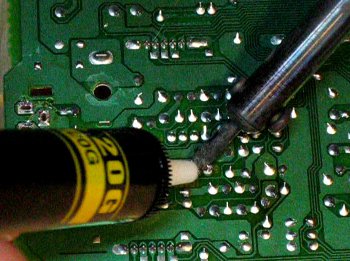
Desoldering electronics is actually very easy with the right tools. All you need is a soldering iron and a desoldering pump. You can practice on old electronics to improve your skill before trying to repair your own equipment.
Get a circuit board out of an old stereo or amplifier to practice on. They have lots of good components on them.
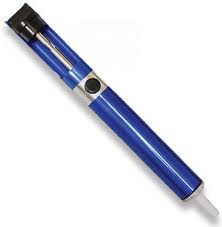
Electronics Desoldering Pump
The photo above shows an electronics desoldering pump. A desoldering pump works by simply pushing down the plunger with your thumb until it locks into place. When you press the button on its side, the spring inside pushes the plunger back up rapidly, causing a small vacuum inside the pump. This will suck up any liquid solder at the tip of the pump.
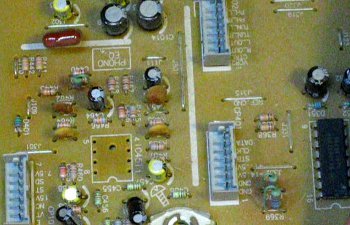
How to use a desoldering pump to desolder electronics
The photo above shows the main circuit board taken out of a large stereo amplifier. This board has a lot of various components on it to practice on. Actually it has a lot of good parts worth keeping for use in other projects. You can usually save capacitors, resistors, transistors, relays, connectors and switches.
Locate the pins of the electronic part you want to remove on the bottom side of the circuit board. It helps to hold the board with your hand on one side, touching the part while turning the board upside down and looking for the pins on the bottom side.
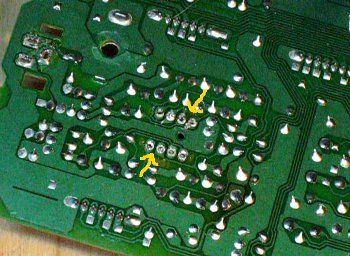
The image below shows the bottom of a circuit board that is about to be desoldered. The 8 pin integrated circuit will be removed.
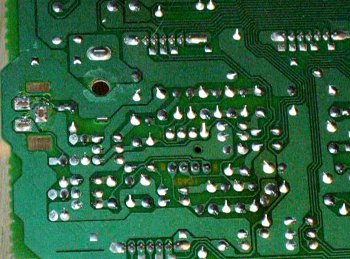
How to use a desoldering pump for electronics
Hold your pre-heated soldering iron tip onto one of the pins of the electronics component that you want to remove (see first photo above). Wait a second and you will see the solder turn to liquid. You can actually see it turn.
Very quickly pull the soldering iron away from the board and move the desoldering pump right up against the leg of the part you just heated. Push the plunger button immediately and the solder will be sucked up into the desoldering tool. Sometimes you may need to hit a part twice in order to remove all of the solder.
Do the same with each pin of the part you are removing until all of the pins are free of solder and can be wiggled a bit in the hole.
Desoldering electronics components
The photo above shows the integrated circuit pins that have been desoldered. The arrows points to a couple of the pins. You can see two rows of four pins.
Make sure all of the pins are loose. You can use your fingernail or a small screw driver to wiggle the pins. If they are all free, then you can pull the part out of the board carefully using a slow, steady pressure and a side to side movement to make sure there is no stress on the pins.
You may need to reheat and desolder a pin if it is still sticking. If just one pin is sticking sometimes you can heat it with your soldering iron as you pull the part out of the board.
Desoldering electronics integrated circuits
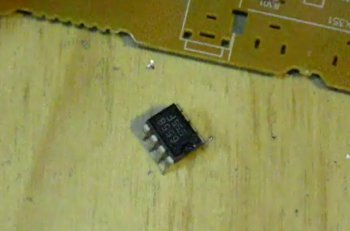
The integrated circuit has been safely removed from the old board with all of its pins intact and straight. With some practice you can desolder even large scale ICs with ease. When working with electronics be careful not to keep the heat on each pin for more than about 2 to 3 seconds or you can damage the fragile internal circuitry. It is also a good idea to wait a few seconds in between desoldering each pin to give the component some time to cool off a bit.
Thats all there is to desoldering electronics with a desoldering tool.
You can see an instructional video here:
 How to desolder electronics remove solder with a desoldering pump
While you are over there please subscribe to my YouTube channel and follow our daily videos as we strive to become self sufficient and off the grid on a budget.
>
Feel free to ask any questions or get help with your project on our
About the Author
| Troy Reid |


