How To Build A Bedini Motor Series - Wind The Coil
This is the next step in the How To Build A Bedini Motor Series - how to wind the coil. I am taking you step by step through building your own Bedini motor.
If you missed the parts list or the first video in the series, please see them below:
How To Build A Bedini Motor Series ~ Parts List
So far we have sourced all the parts needed to build a Bedini Motor. Then we prepared the rotor for the project. Then we built the frame which will hold it all together. Next we marked out all the North poles of the magnets. And in the last article we fastened the magnets to the rotor.
Now we are going to wind the coil.
I spent a lot of time studying papers and reading forums to find the best lenght of wire to use for the coil. John Bedini gave us his results as he experimented and improved his motors through the years. There are a lot of different schematics and instructions out there on how to build a Bedini Motor. There are also different types of Bedini Motors out there.
I finally came up with the wire length of between 130 and 150 feet. This is what people say works the best. And they say that anything longer does not give any performance increase.
Next I had to wait for a day without rain because I had to spend some time outside with my coil winding jig. Today was finally that day.
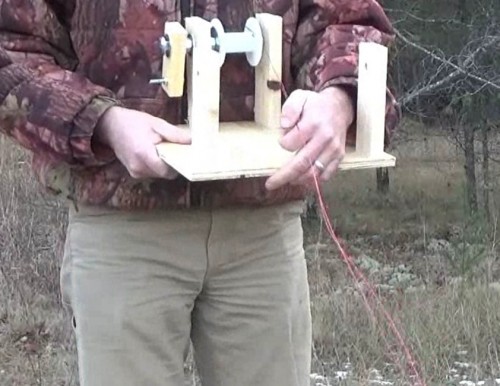
I measured out 150 feet along the fence line of our property. Then I fastened the two wire ends onto the first fence post. Then I strung out the wire along 150 feet. At that point, I cut the ends of the two spools of wire and taped the ends back onto the spools to keep them in place.

Running out 150 feet of coil wires
I put the spools of wire away for now.
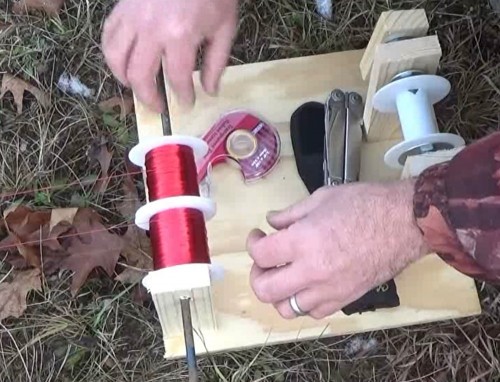
Next I taped the two ends of wire on to my empty coil spool on the coil winding jig.

Winding Bedini Motor Coil
Now, here is the important part. With the end of the wire on your left hand, start winding the coil in a clockwise direction until you count 450 - 500 turns.
The next important thing is to make sure you count the number of turns.You can also just measure out 130 - 150 feet of wire and wrap it onto the spool.
Either way is fine. Either measure out 130 - 150 feet of wire or count 450 - 500 turns on the coil.
Just ensure that you keep track of which number you used. This will be important later when you want to expand on the system. You will want to make all the exact same coils later.
I took the time to count out the feet and turns so that you can choose which way works best for you.
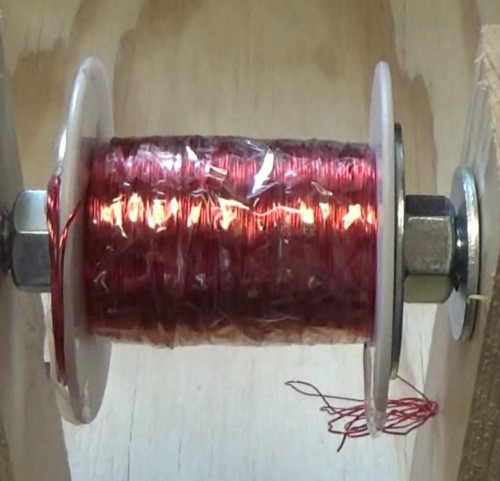
When you get the wire wrapped onto your spool, tape off the end so that it does not come unwound. I ran tape all the way around the coil to hold it all in place and protect it from bumps later on.
And that is all.

Bedini SSG Motor Coil
Now your Bedini Motor coil is wound. Stay tuned for the next step - filling the coil core.
You can watch today's video here:  How To Build A Bedini SSG Winding The Coil
While you are over there please subscribe to my YouTube channel.
Feel free to ask any questions or get help with your project on our
Read the next article in the series: How To Build A Bedini Motor Series - The Coil Core
About the Author
| Troy Reid |


