Building a greenhouse from scratch and scrap
Using some scrap material, old sliding glass doors and windows, and as few purchased supplies as possible (cement blocks, wire cloth, 2x4s and roof tin), we built our second greenhouse in early November 2012. Now, in mid-February, the greenhouse provides more than enough greens for our heaping, twice-daily salads.
The finished greenhouse measures 15-1/2 by 5-1/2 feet along the south side of our house, actually attached to the rustic porch. (The porch was added onto the house by a previous owner, not a skilled carpenter. So, please disregard the raggedy plywood exterior in the photos. It’s only temporary.)
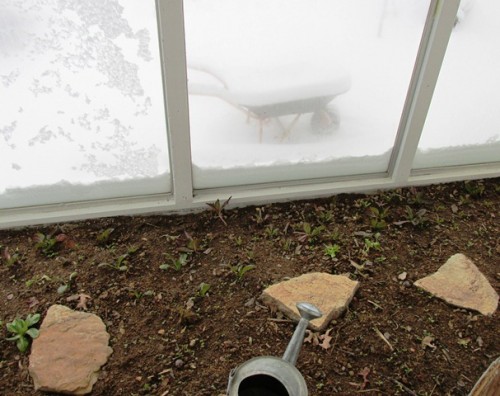
The greenhouse gets plenty of light by its southern exposure. By building it onto the house, we used less materials and the greenhouse needs no electric heat source. The temperature here in the Missouri Ozarks rarely gets below 0, but, on really cold nights, we set the pail of woodstove ashes in the greenhouse for extra warmth. We also keep plastic jugs of water on the stepping stones (gathered from the yard) to absorb heat during the day. So far, these no-cost methods have kept the greenhouse at a perfect temperature for spinach, lettuce, kale, mustard greens and bok choy. I’ve heard that setting out a few candles will generate enough heat to keep the tender plants from freezing, although we haven’t tried that technique yet.
From the ground up
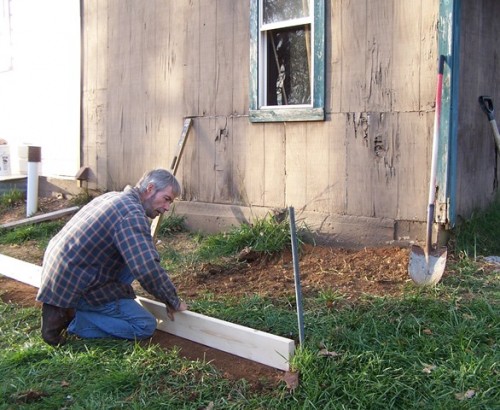
Our greenhouse project began with a simple drawing, followed by marking the site and digging a level base. Shoveling the site by hand took almost two days. I thought we’d be able to keep most of the excavated dirt for the greenhouse, but it was mainly clay and small rock, so we used it elsewhere. Instead, we headed into the woods with a wheelbarrow for topsoil, which we mixed with some of last year’s compost.
To keep out moles and other small rodents, my husband, Darren, “sewed” together two pieces of wire cloth by weaving a wire along the edges of the two pieces. The wire-cloth base may not be necessary in all parts of the world, but, here in the Ozarks, it is absolutely the difference between having vegetables or not. The wire covers the entire floor and extends about 8 inches up the inside of the walls. We know it works, as mole tunnels completely surround the greenhouse.
Once the ground was smooth and level, we put down the wire cloth and a foundation of cement blocks topped with 5x5 beams. We banked the cement blocks on both sides with some of the excavated clay to keep them in place during construction. To prevent damage, we laid down a sheet of the old plywood porch siding on the wire cloth while we worked.
We added a strip of plastic landscape edging along the inside of the foundation at the growing-soil level, but only because the edging was given to us and will help to keep the wet soil away from the wood. It is certainly not necessary, though.
From doors to windows
Next, the 2x4 studs went up to frame the windows (old sliding-glass doors), followed by the rafters. Then, Darren put on the tin roof while I painted. The interior walls should be white, the brighter the better. We’ll add shelves as soon as the seedlings I started in the house are ready to move to bigger pots. I’m thinking of trying something I read about recently, which suggested lining the shelves and back wall with tinfoil to reflect even more light onto the plants.
A few months ago, we bought the used sliding glass doors at a junk shop for $10 each for the greenhouse windows. They are about 4 feet wide and 6 feet tall, the perfect size for three along the south face and one on the west. The east side has a homemade wooden door and another used window, about 3-feet wide and 6-feet tall.
The old porch window we removed will be used in Greenhouse No. 1, the lean-to that Darren built last year along the south side of his workshop. The porch window opening is now a narrow doorway leading from the porch into the greenhouse. Until we have an opportunity to build a door, I’ve tacked up an old heavy blanket there to serve as a door.
We found an old stock tank in the local thrift store to set next to the greenhouse under a downspout. This time of year, it stays full of nutritious rainwater, so all I have to do is dip in my watering can. I let the water warm to the greenhouse’s ambient temperature before watering so the plants won’t be shocked by icy-cold water.
Year-round usefulness
The 18- by 5-foot lean-to greenhouse Darren built along the shop in November 2011 supplied us with delicious, organic greens from mid-December until May (and we eat a ton of salad every day!) By the time it got too hot in the greenhouse to grow greens, our raised beds were producing. So the greenhouse became a large and super-efficient compost bin. We kept it well-watered with rainwater, and in just 2-3 weeks our peelings and whatnot became compost – many weeks ahead of the outdoor compost pile. We’ll do the same with this greenhouse.
The challenge for us has been to build a square and level greenhouse onto a very un-square and out-of-level old porch. There is a 2-inch difference in length of the west and east walls of the greenhouse. Perhaps you will have a less tetragonal starting point.
Our very first greenhouse several years ago was actually an expensive plastic greenhouse kit, a real learning experience. It did not hold up in wind and, within two seasons, the plastic windows were cloudy. We suggest that even if you have to hire someone for the actual construction project, round up some used windows or doors for a real greenhouse. They are inexpensive (sometimes even free) and surprisingly available.
The best part of projects like this for us is being able to do all if it ourselves, using recycled building materials and putting ourselves another huge step toward being more self-reliant.
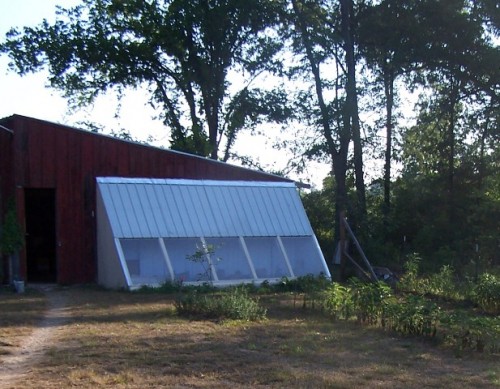
A lean-to greenhouse requires less building materials and retains more heat

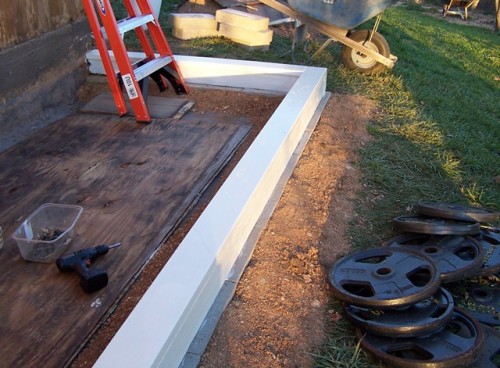
Banking clay along the foundation
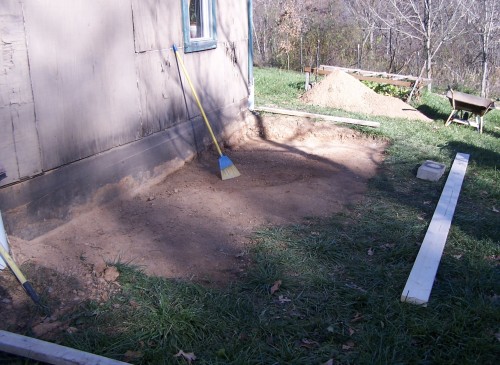
The first step is to dig a level foundation

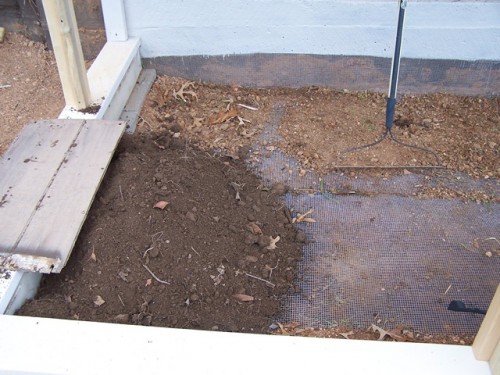
The first load of topsoil
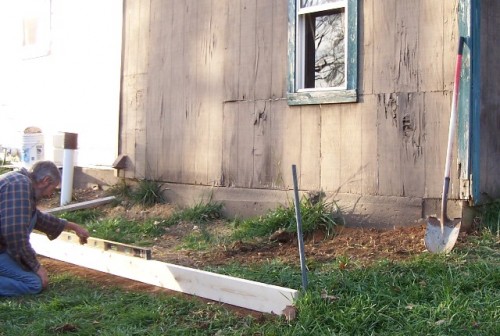
Leveling the foundation
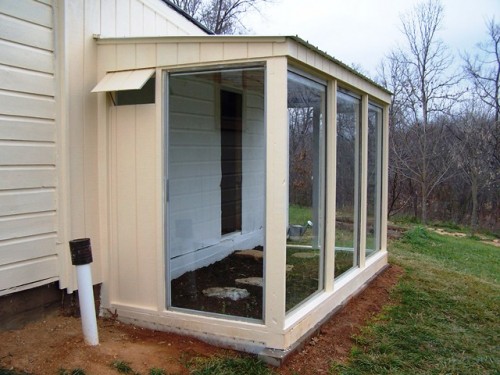
The nearly-finished greenhouse ready for planting

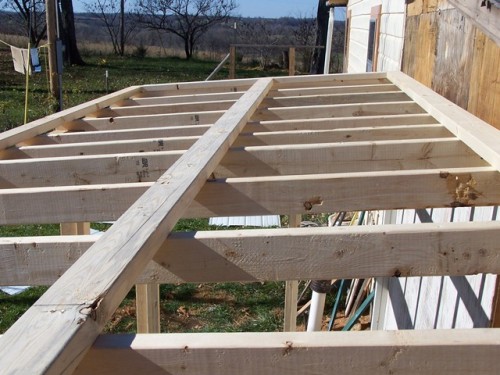
Building onto an un-level house was a challenge
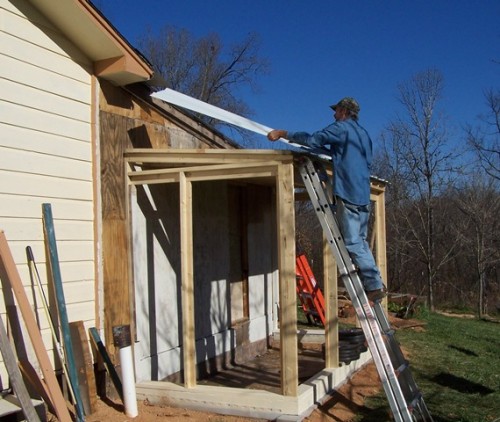
Putting on the roof tin
Despite 8

Choose a south-facing wall
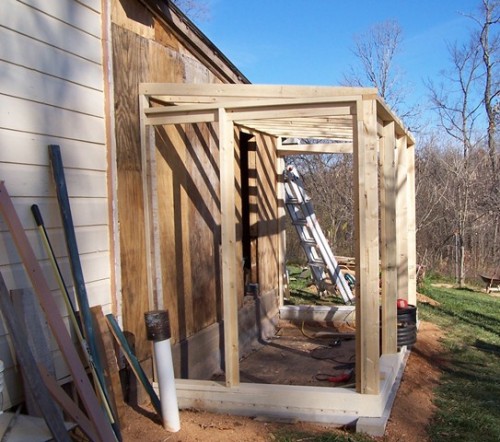
Framed to fit three sizes of old glass doors
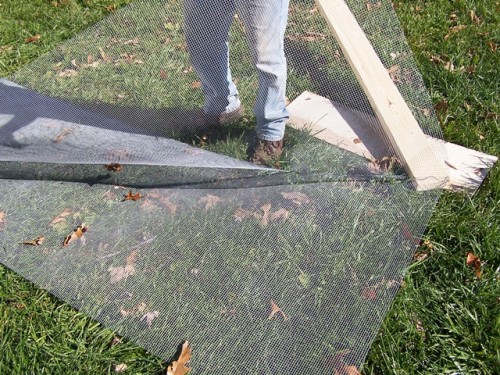
Stitch the wire securely to keep out rodents
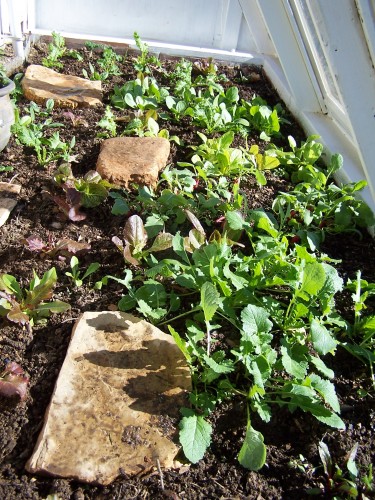
Covered with a tarp on very cold nights
About the Author
| Mrs. WaterBoy |


